Install Windows on exFAT and ReFS partitions
IntroductionSome people may wonder: why bother to use exFAT or ReFS partitions when there is already NTFS? The answer is every file system has its pros and cons and specific file system may be required in some scenario. Currently all Microsoft Windows distributions can be installed only into NTFS partition by program Setup.exe, which is located in the root of installation media and users can not change file system of Windows partition. In this article I'll tell about special edition of Windows distribution, which can be installed on exFAT and ReFS partitions. This edition called "Windows Server 2022 21H2 20348.1787" and you can download it here:
https://disk.yandex.ru/d/ZNs2cb0GBjK_-Q
The file WindowsServer2022ReFS.iso has MD5: 55C55B63F8B8DF6210AD03A85FB49E3C
Prerequisites
64-bit 1.4 GHz processor
RAM 2 GB
An entire empty hard drive
UEFI capable motherboard (only needed to boot from ReFS)
Installation process
The first step is to create a bootable USB flash drive or bootable DVD. Using Rufus or Hasleo WinToUSB burn the ISO image to a flash drive.
In the BIOS menu of the PC, make the flash drive bootable.
After booting from the flash drive inside WinPE, click on the shortcut on the desktop "Установка Windows":

The script will renumber all disks and ask you to enter the number of the disk on which you want to install Windows. You need to enter the disk number and press Enter. Then you need to specify the partition type. For UEFI motherboards, specify "gpt", and for Legacy BIOS motherboards, specify "mbr".
Then specify the file system:

After that, the installation will begin. There is no need to intervene at this stage. When installed on an exFAT partition, it may seem that copying is frozen at 56% - this is normal.
At the end, a message will appear that Windows installation is complete:

After that, you can remove the flash drive and restart the PC.
The PC will reboot twice. The first time is due to new hardware being discovered. The second time is planned - "Test Mode" will be enabled so that the modified network driver can be installed.
After the reboot, you will be able to adjust the recommended paging file size.
Install updates and language packs
By default, updates are disabled. To enable them, go to the "C:\PP\REG" folder, right-click on the "0_UpdatesOnRunAsSystem.bat" file, select "Run as TrustedInstaller", reboot. To install updates, I recommend using the program "C:\PP\patchfluent\Patchfluent.exe", where you can choose which updates to install.
Windows Activation
Activate with file "C:\PP\WindowsActivation\W10DigitalActivation_x64.exe" in KMS38 mode
Installing drivers for HP inkjet printers
Some printer drivers do not want to install on Windows Server, a message appears stating that this OS is not supported. For example, when you run the Setup.exe from the HP DeskJet 2320 printer driver, the following window appears: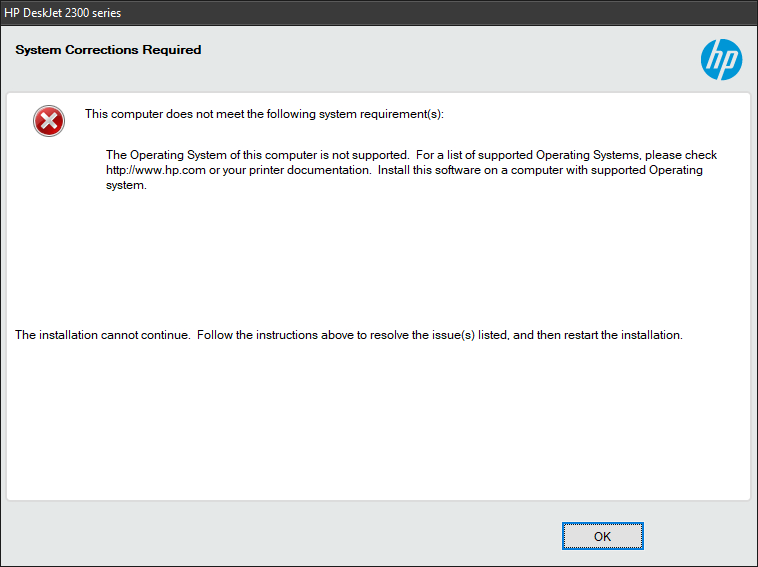
In this case, you will not be able to install the driver directly, through the installer. You can install it on Windows Server like this.
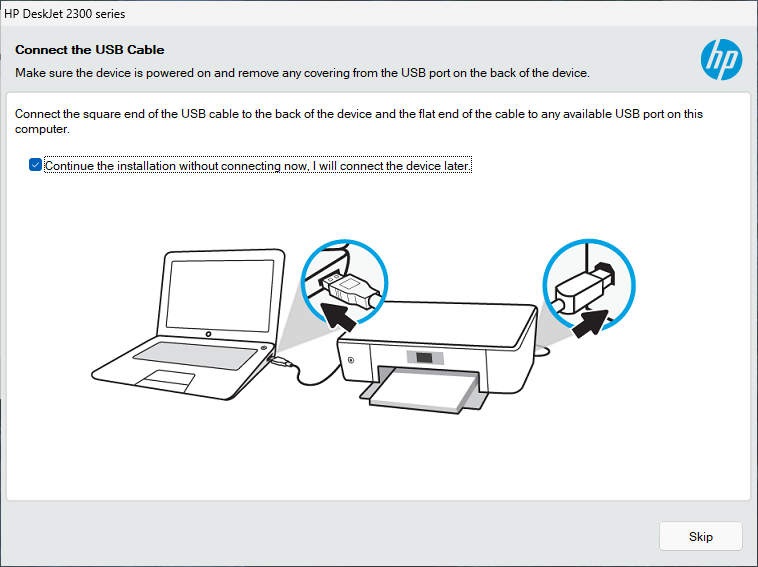
First you need to install the driver through the official installer on another PC or inside a Windows 10/11 virtual machine. In this case, during the installation process, you need to skip the step of connecting the printer via a USB cable:
After installing the driver and rebooting, open PowerShell and type:
Get-WindowsDriver –Online| select Driver, ClassName, BootCritical, ProviderName, Date, Version, OriginalFileName|Out-GridView
This will list all drivers installed by the "third party". The following window will appear:
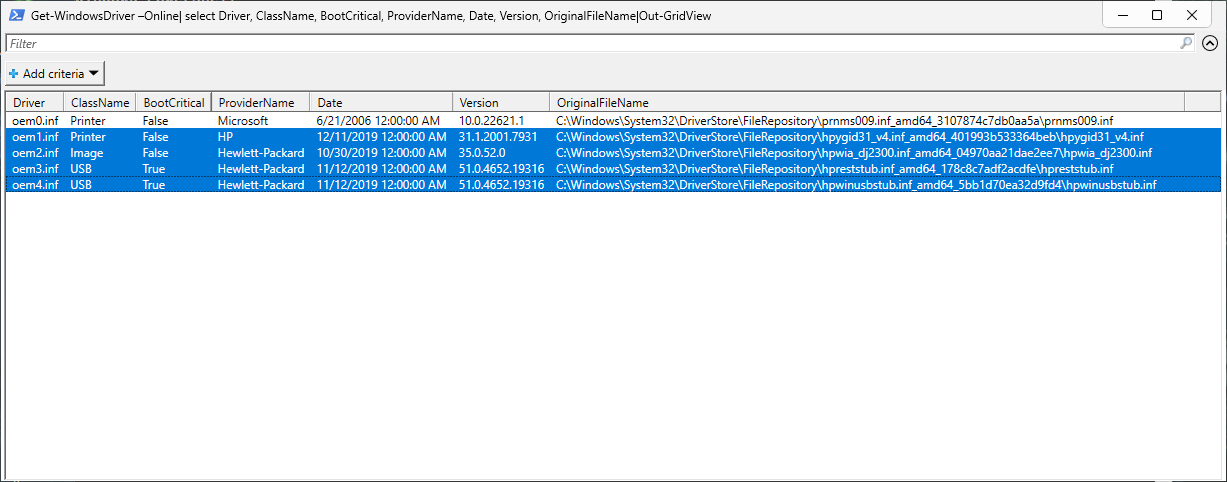
As you can see, the installer installed four drivers for the HP DeskJet 2320:
oem1.inf (original name hpygid31_v4.inf) - printer driver,
oem2.inf (original name hpwia_dj2300.inf) - scanner driver,
oem3.inf (original name hpreststub.inf) - USB driver,
oem4.inf (original name hpwinusbstub.inf) - USB driver.
All these four drivers need to be exported to pre-prepared folders. Open command prompt and type:
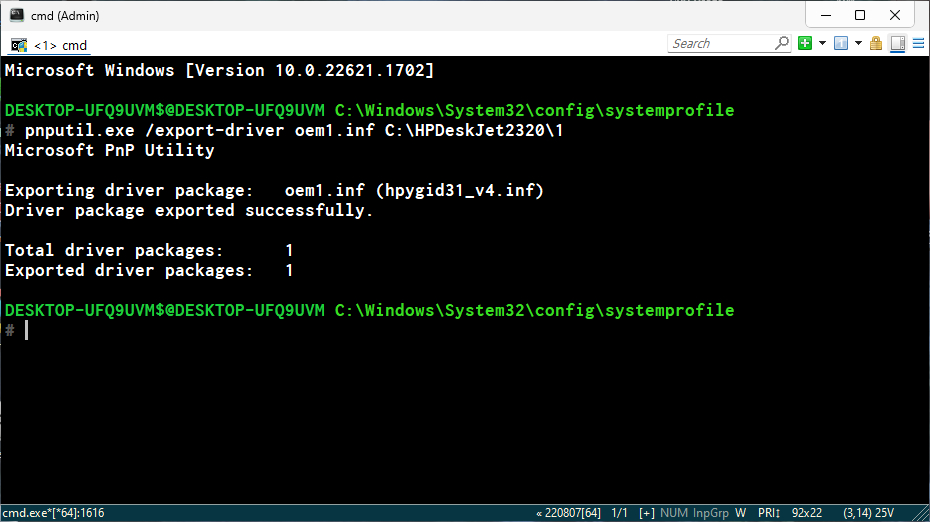
pnputil.exe /export-driver oem1.inf C:\HPDeskJet2320\1
pnputil.exe /export-driver oem2.inf C:\HPDeskJet2320\2
pnputil.exe /export-driver oem3.inf C:\HPDeskJet2320\3
pnputil.exe /export-driver oem4.inf C:\HPDeskJet2320\4
Upon successful export, a message will appear:
Almost everything is ready. Now this folder "C:\HPDeskJet2320" with exported drivers should be moved to Windows Server. On Windows Server, open a command prompt and type:
pnputil.exe /add-driver "C:\HPDeskJet2320\1\hpygid31_v4.inf" /subdirs
pnputil.exe /add-driver "C:\HPDeskJet2320\2\hpwia_dj2300.inf" /subdirs
pnputil.exe /add-driver "C:\HPDeskJet2320\3\hpreststub.inf" /subdirs
pnputil.exe /add-driver "C:\HPDeskJet2320\4\hpwinusbstub.inf" /subdirs
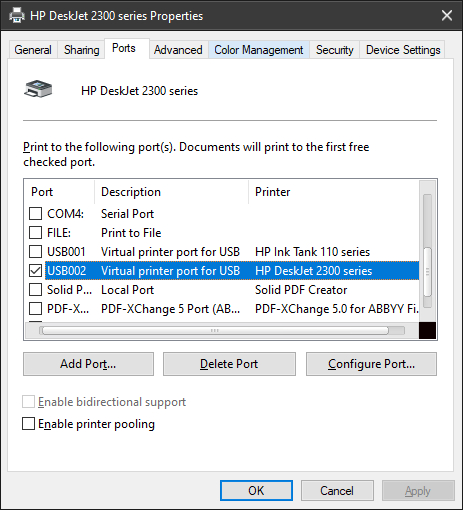
After the reboot, turn on the printer, connect it to the PC and wait 2 minutes. In the "Control Panel", in "Devices and Printers" the printer icon will appear. It is advisable to open the printer properties and on the "Ports" tab, make sure that the printer port is USB:
Comments
Post a Comment